Sanctuary School & Studio
Welcome to our School & Studio! Where you can Learn "how It's Done" and pick out options via our studio below within the sub service you have selected to view:
-
School: Knowledge on how the sub-service is done.
-
Studio: Options on all materials/colors for selected sub-service.
What are laminate & Vinyl Flooring?
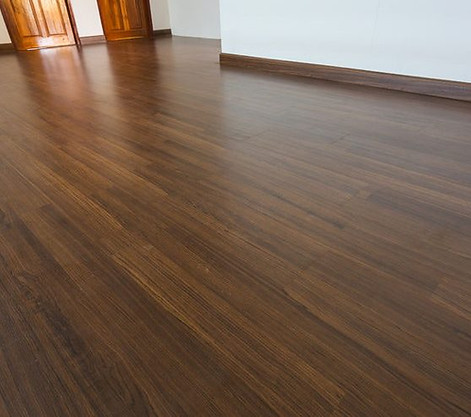
- Laminate and vinyl flooring are popular choices for homeowners seeking durable, stylish, and affordable flooring solutions. Laminate flooring is constructed with a high-density fiberboard core topped with a photographic layer that mimics the look of wood or tile, while vinyl flooring is made from synthetic materials like PVC. Both options are known for their resistance to moisture, scratches, and stains, making them ideal for high-traffic areas and busy households. Sanctuary Design & Build offers a wide selection of laminate and vinyl flooring options in various colors, patterns, and textures to complement your Orange County home's design.

1
School
Our official "How It's Done" section to help educate our clients to understand our industry leading installation process!
Course: How are laminate & Vinyl Flooring Installed?
Process - Laminate & Vinyl Flooring Installation
Discover our step by step guide on how we bring your remodeling projects to life. Unless otherwise stated in your contract, all installations pertaining to any Vinyl or Laminate flooring are performed in the exact outlined method!


Phase 1: Subfloor Assessment & Preparation
A properly prepared subfloor is essential for a successful vinyl or laminate installation. We thoroughly inspect the existing subfloor (typically concrete, plywood, or existing flooring). We check for:
-
Levelness: The subfloor must be flat and level. Any unevenness greater than 3/16" over a 10-foot span needs to be addressed. We use a level and straight edge to identify high and low spots.
-
Moisture: Excessive moisture can cause problems with both vinyl and laminate. We perform moisture tests on concrete subfloors and check wood subfloors for signs of water damage.
-
Cleanliness: The subfloor must be clean and free of debris, dirt, grease, and old adhesive residue.
-
Structural Soundness: The subfloor must be structurally sound and free of any deflection or movement.
Repairs: Addressing any issues found during the inspection such as:
-
Filling cracks or holes in concrete with a concrete patching compound.
-
Sanding down high spots or using a self-leveling compound to fill low spots.
-
Replacing damaged sections of plywood.
-
Removing old flooring and adhesive residue.
Please see your contract for additional information on repairs included.

Phase 2: Moisture Barrier and Underlayment Installation
This phase combines moisture protection and underlayment installation, creating the proper foundation for the flooring. The process varies depending on the flooring type and subfloor:
-
Over Concrete Subfloors (Laminate): A 6-mil polyethylene film is used as a moisture barrier. It’s rolled out, overlapping seams by several inches and taping them securely with moisture-resistant tape. Then, the appropriate underlayment is installed over the moisture barrier.
-
Over Concrete Subfloors (Vinyl): Some vinyl has an attached underlayment with a built-in moisture barrier. If not, a separate moisture barrier may be required depending on the specific vinyl and manufacturer instructions. If a separate moisture barrier is needed, it is installed in the same manner as for laminate over concrete. If the vinyl has a pre-attached underlayment, no further underlayment installation is needed.
-
Over Wood/Plywood Subfloors (Laminate): A moisture barrier is generally not required unless over a crawl space or in high humidity. The appropriate underlayment is rolled out directly over the clean wood subfloor.
-
Over Wood/Plywood Subfloors (Vinyl): Typically no moisture barrier is needed. For some thicker vinyl products an underlayment may be recommended or optional. If required or desired, a thin foam or specialized vinyl underlayment can be used.
Proper overlapping (2-4 inches) and secure taping with moisture-resistant tape are crucial for moisture barriers. The underlayment is then rolled out and seams are taped according to the manufacturer's instructions.

Phase 3: Flooring Installation
We carefully plan the layout, starting along a straight wall.
-
Laminate: Uses a tongue-and-groove or click-lock system, creating a "floating" floor. We use tapping blocks and pull bars for tight seams and proper alignment, leaving an expansion gap around the perimeter.
-
Vinyl: Installation methods include:
-
Loose-Lay: Used in smaller rooms where the flooring is held in place by its weight and moldings.
-
Glue-Down: Adhesive is applied to the subfloor before carefully laying the flooring.
-
Click-Lock/Interlocking: Similar to laminate, using a click-lock system.
-

Phase 4: Finishing Touches
-
This phase completes the installation and ensures a professional finish. We install baseboards or quarter round molding around the perimeter to cover the expansion gap (for laminate) or finish the edge (for vinyl), creating a clean transition between the flooring and the walls. Transition strips are installed where the new flooring meets other surfaces, providing a smooth transition and protecting exposed edges. Finally, we thoroughly clean the floor, removing any dust or debris.
Click Here to see our molding/trim options to finalize the look of your new Vinyl or Laminate floors!

2
Studio
Our Official Studio will guide you through all options we carry within the selected category to expertly guide you in your decision making process!
Studio Display: Our Selection of Vinyl & Laminate Flooring!
%20whi.png)
