Sanctuary School & Studio
Welcome to our School & Studio! Where you can Learn "how It's Done" and pick out options via our studio below within the sub service you have selected to view:
-
School: Knowledge on how the sub-service is done.
-
Studio: Options on all materials/colors for selected sub-service.
What Is Hardwood Flooring?
- Hardwood flooring is a classic and enduring choice for homeowners in Orange County seeking natural beauty and lasting value. Crafted from solid wood planks sourced from various tree species, hardwood floors bring warmth and character to any space. Popular choices in Orange County include oak, maple, and hickory, each offering unique grain patterns and color variations. Hardwood floors are known for their durability and longevity, making them a worthwhile investment that can last for generations. Whether you envision rich oak floors gracing your living room in Newport Beach or warm maple floors brightening your bedroom in Yorba Linda, Sanctuary Design & Build can help you select and install the perfect hardwood flooring to enhance your Orange County home.

1
School
Our official "How It's Done" section to help educate our clients to understand our industry leading installation process!
Course: HOW IS HARDWOOD FLOORING INSTALLED?
Process - Hardwood Flooring Installation
Discover our step by step guide on how we bring your Landscape projects to life. Unless otherwise stated in your contract, all installations pertaining to Hardwood Flooring are performed in the exact outlined method!


Phase 1: Subfloor Assessment & Preparation
-
Leveling the Subfloor: Ensure the subfloor is level and free of any significant irregularities. This might involve leveling with self-leveling compound or shimming.
-
Moisture Testing: Conduct a moisture test to verify that the moisture content of the subfloor is within acceptable limits. Excessive moisture can lead to flooring issues.
-
Underlayment Installation: Install a moisture barrier and soundproofing underlayment over the subfloor to provide additional protection and improve sound insulation. (as needed per contract, situation specific)

Phase 2: Acclimation & layout
-
Acclimation: The hardwood flooring is delivered to your home and allowed to acclimate to the room's temperature and humidity for several days. This prevents warping and shrinkage after installation.
-
Planning the Layout: We carefully plan the layout of the flooring, considering the direction of the boards, traffic flow, and the overall aesthetics of the room.

Phase 3: Nailing Down the Hardwood
-
First Row Installation: We begin by installing the first row of flooring, ensuring it is straight, properly spaced from the wall (to allow for expansion), and securely nailed down.
-
Subsequent Rows: We continue installing rows, using a nailer to drive nails through the tongue of each board at an angle, securing it to the subfloor.
-
Tapping & Fitting: We use a tapping block and mallet to ensure tight seams between boards and a uniform appearance.

Phase 4: Finishing Touches & Completion
-
Transitions: We install transition strips where the hardwood flooring meets other types of flooring or different levels in the home. This creates a smooth and visually appealing transition.
-
Baseboards: Baseboards are installed to cover the expansion gap between the flooring and the walls, providing a finished look.
-
Clean-Up & Inspection: We thoroughly clean the newly installed floor, removing any dust or debris. A final inspection is conducted to ensure the quality of the installation meets our high standards.

2
Studio
Our Official Studio will guide you through all options we carry within the selected category to expertly guide you in your decision making process!
Studio Display: Our Collection of Hardwood Flooring!
Let's Pick Your New Floors!
1. First pick out your wood
2. Lastly pick out your stain & Topcoat (If wood is not pre-finished & is natural)
1. Wood Comparison & Selection
- First you will want to focus on what you are looking for out of your floors, the flooring we offer is for your convenience broken down to 3 types of natural wood; Hickory, Maple, and Oak.
- Below is a quick breakdown of the differences and in the sections after you will be able to find all selections we have based on the wood you are interested in.
We hope this helps narrow down your decision!
Comparison Factors

Hickory

Maple

Oak
Hardness
Hardest
Hard
Medium
Grain Pattern
Dramatic, Varied
Smooth, Unifrom
Classic, Subtle Variation
Color
Mix of light & dark
Generally light
Warm tones
Cost
Expensive $$$
Mid-range $$
Affordable $
Ease of Staining Coat
Challenging to stain
Stain color not prominent
Able to stain well

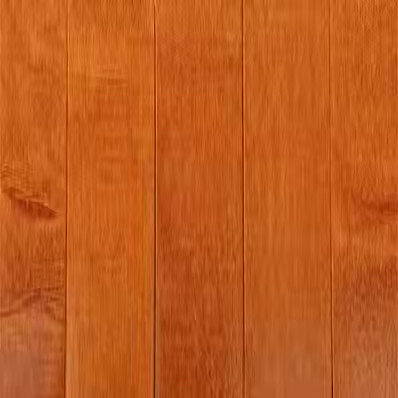
Hickory Natural Wood

Maple Natural Wood

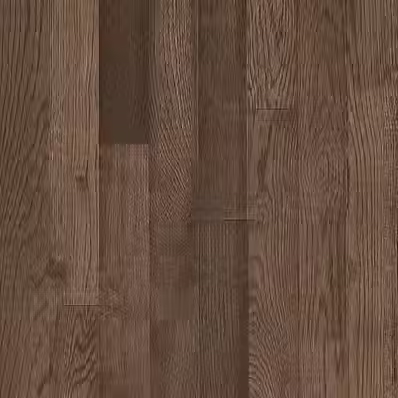
Oak Natural Wood
2. Stain Color / Finish Top Coat
It is important to note that not all wood requires staining but all require finishing unless the wood is pre-finished. This is a necessary step that keeps the new wood protected and without a finish the wood will be damaged.
Stains
Varathane
Carbon Gray

Varathane
Sedona Red

Varathane
Red Mahogany

Varathane
Natural Wood

Varathane
Antique White

Behr
True Black

Behr
Dark Walnut

Finishes
Varathane
Water Based Finish

Varathane
Water Based Finish


Difference Between Oil & Water Based Finishes
-Oil-based polyurethane gives a warm, amber glow and is super tough, resisting scratches and water damage better. But it takes longer to dry, has a strong smell, and can yellow over time. Water-based polyurethane is clearer, dries faster, and has almost no smell, making it easier to work with. However, it's not quite as durable and can be a bit trickier to apply smoothly. Your choice depends on whether you prioritize durability and that classic look (oil-based) or ease of use and keeping the wood's natural color (water-based).
%20whi.png)


